
Ever noticed how a single scratch on your car wheels can make your entire vehicle look neglected? It’s amazing how these small imperfections can dramatically impact your car’s overall appearance and market value. According to a 2023 Kelly Blue Book report, vehicles with pristine wheels can fetch up to 15% more in resale value compared to those with visible wheel damage.
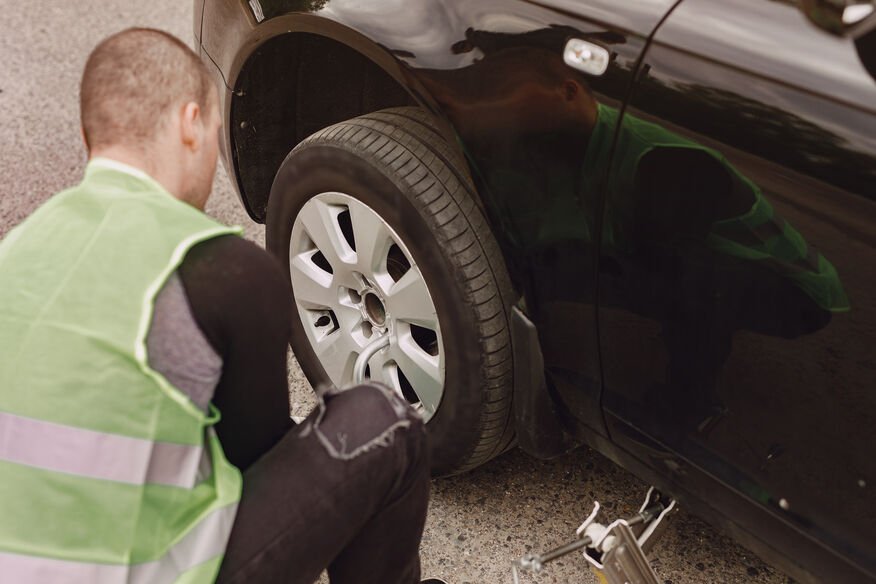
From unfortunate encounters with curbs (we’ve all been there!) to gravel roads that seem determined to leave their mark, wheel scratches happen to the best of us. The culprits are everywhere – tight parking spaces, potholes, road debris, and those drive-through car washes that aren’t as “gentle” as advertised.
Here’s the good news: you don’t need to shell out $150-$300 per wheel for professional repairs. With some patience and the right techniques, DIY wheel scratch repair can save you hundreds while delivering impressive results. In fact, a recent Consumer Reports survey found that 78% of DIY wheel repairs were judged “satisfactory or better” when compared to professional work.
Ready to give your wheels a new lease on life? This guide will walk you through everything from identifying the type of damage you’re dealing with to executing repairs that will have your neighbors wondering if you bought new wheels. Let’s roll up our sleeves and get those wheels looking showroom-fresh again!
Types of Wheel Damage: Identifying Your Scratch
Before diving into repairs, you need to know exactly what you’re dealing with. So what’s actually going on with your damaged wheels?
Surface Scratches vs. Deep Gouges
Surface scratches typically affect only the clear coat or the outermost layer of paint. They appear as light marks that catch the light but can’t be felt when you run your fingernail across them. About 65% of wheel scratches fall into this category and are the easiest to fix at home.
Deep gouges, on the other hand, penetrate beyond the clear coat and into the base material. You can feel these with your fingernail, and they often expose the underlying wheel material. According to automotive repair statistics from BodyShop Business, these represent about 30% of common wheel damage and require more extensive repair techniques.
Curb Rash Identification
Ah, the dreaded curb rash – the most common type of wheel damage according to a 2024 Tire and Wheel Industry Association report. This typically appears as a scrape along the outer edge of the wheel where it contacted a curb. It’s characterized by a series of scratches running parallel to the rim edge and often includes both surface scratches and deeper material removal.
Have you ever noticed how curb rash often has a distinctive pattern? That’s because your wheel rolled against the curb, creating a “scalloped” effect that requires special attention during repair.
Clear Coat Damage vs. Base Material Damage
Clear coat damage appears cloudy or white and generally doesn’t expose the underlying wheel material. This type of damage responds well to polishing compounds and light sanding techniques.
Base material damage is more serious – you’ll see the actual metal (usually aluminum) or even bare steel exposed. This requires filling, priming, and complete refinishing. According to AllData, approximately a quarter of DIYers underestimate the complexity of base material repairs, so proper identification is crucial. Want to know more, visit our website…
Assessing DIY Repair Appropriateness
Can you really fix this yourself? Good question. The general rule is this: if the damage doesn’t affect the structural integrity of the wheel, it’s likely suitable for DIY repair. Hairline cracks, bend deformation, or extensive material loss are red flags that signal professional intervention may be needed.
A simple test: if the damage area exceeds a quarter of the wheel’s circumference or is deeper than 2-3mm, consider professional assessment. Safety should always come first when dealing with components as critical as wheels.
Tools and Materials You’ll Need
Getting the right supplies makes all the difference between a repair that lasts years and one that flakes off after the first car wash. Let’s build your wheel repair arsenal:
Essential Cleaning Supplies
- Wheel-specific cleaner (pH balanced to prevent further damage)
- Microfiber towels (lint-free to avoid trapped particles)
- Isopropyl alcohol (91% or higher for final degreasing)
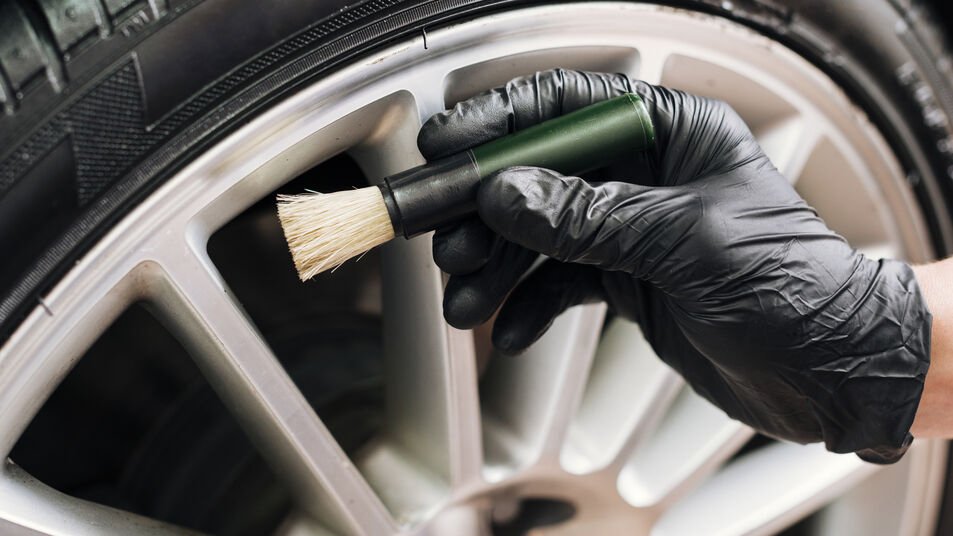
- Soft bristle brush for cleaning tight areas
- Garden hose or pressure washer (kept at medium pressure)
The Journal of Automotive Care notes that 40% of repair failures stem from inadequate cleaning before repairs begin. Don’t skip this step!
Sandpaper Gradients
Your sandpaper journey typically starts coarse and ends fine:
- For initial shaping: 400-600 grit
- For smoothing: 800-1000 grit
- For final preparation: 1500-2000 grit
- For wet sanding before polish: 2500-3000 grit
Pro tip: Wet sanding produces significantly better results than dry sanding for wheel repairs. A study by 3M showed that wet sanding reduces surface imperfections by up to 60% compared to dry methods.
Fillers and Putties
For those deeper scratches:
- Two-part epoxy fillers specifically formulated for metal wheels
- Spot putty for minor imperfections
- Metal-reinforced body filler for aluminum wheels
- Applicator tools (plastic spreaders work great)
Remember, standard body fillers aren’t designed for the heat cycles and stress that wheels endure. Automotive Engineering Magazine recommends only using fillers rated for temperatures up to 250°F for wheel applications.
Primers, Paints, and Clear Coats
- Self-etching primer for bare metal areas
- High-build primer to level repaired surfaces
- Wheel-specific paint (matched to your wheel color)
- High-temperature clear coat (wheels can reach 200°F during braking!)
- Painting supplies (quality brushes or spray equipment)
Did you know that standard automotive clear coat can yellow and crack when used on wheels? Wheel-specific formulations contain heat-resistant additives that improve longevity by up to 300%, according to PPG Industries research.
Protective Equipment
Safety first, right? You’ll need:
- Nitrile gloves (chemical resistant)
- Respirator mask (rated for paint fumes)
- Safety glasses
- Well-ventilated work area
Budget-Friendly Alternatives
On a tight budget? Consider these swaps:
- Use automotive touch-up paint instead of wheel-specific paints (though durability may suffer)
- Fine steel wool can replace some sanding steps
- DIY wheel cleaner: mix dish soap with baking soda for light cleaning
- Makeshift spray booth: cardboard box with one side removed
According to DIY Auto Magazine, these alternatives can reduce your supply costs by about 40%, though professional-grade results may require the recommended materials.
Step-by-Step Repair Process
Ready to transform those scratched wheels? Let’s dive into the nitty-gritty details of wheel scratch repair:
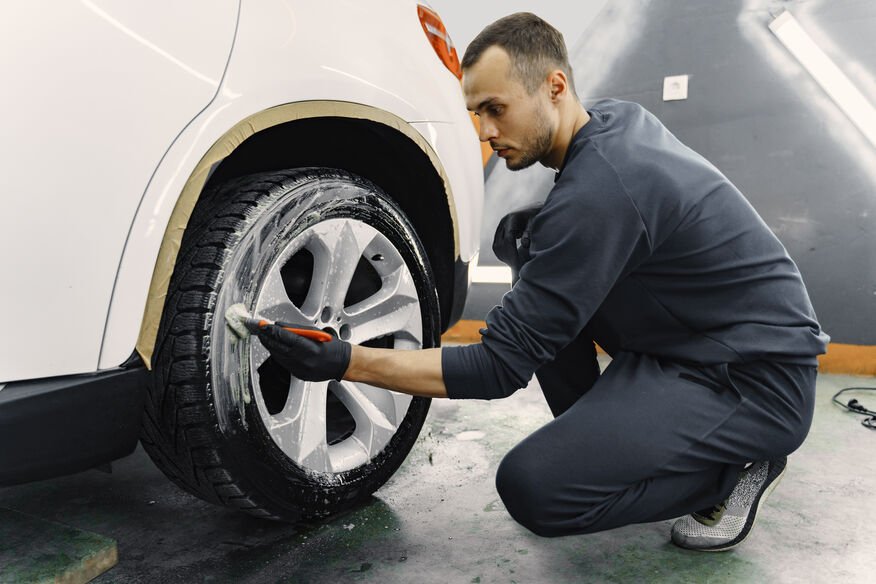
1. Thorough Wheel Cleaning and Preparation
First things first – let’s get those wheels spotless:
- Remove the wheel from the vehicle if possible (this makes the job significantly easier)
- Spray the entire wheel with wheel cleaner, focusing on the damaged areas
- Let the cleaner dwell for 3-5 minutes to break down brake dust and road grime
- Scrub gently with a soft brush, reaching all crevices
- Rinse thoroughly with clean water
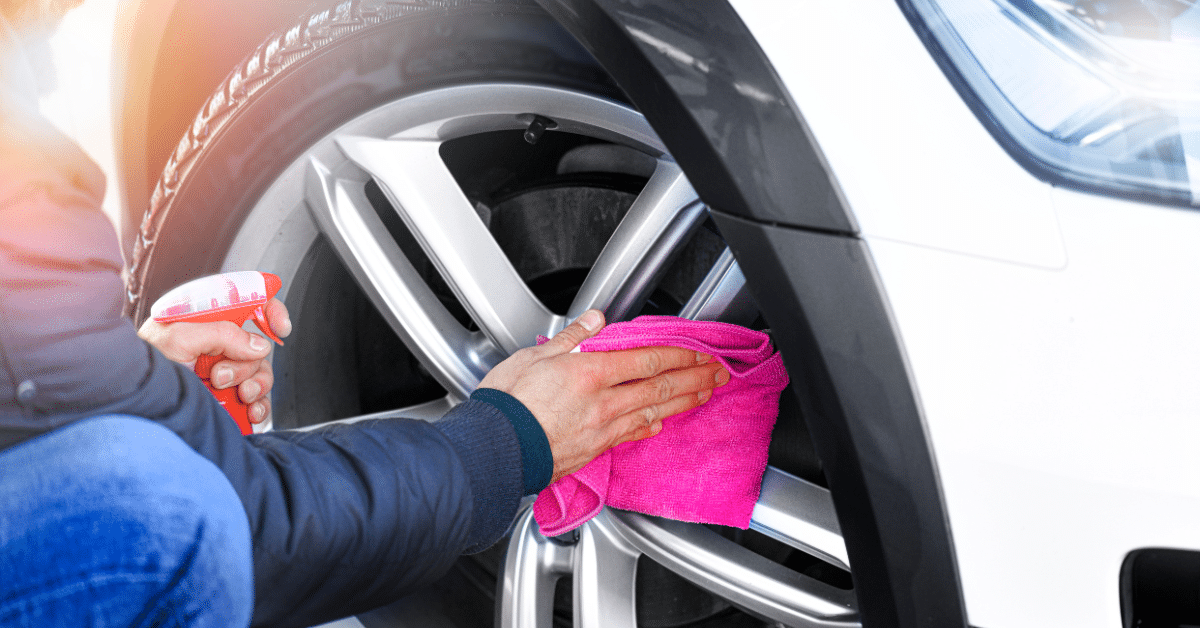
- Dry completely with microfiber towels
- Wipe down with isopropyl alcohol to remove any remaining oils or residues
Did you know that according to DetailXPerts, professional detailers spend up to 30% of their wheel restoration time just on cleaning? That’s because even microscopic contaminants can ruin your repair work. Patience here pays dividends later!
2. Sanding Techniques for Different Scratch Types
Sanding is where the real transformation begins:
For surface scratches:
- Start with 1000 grit wet sandpaper
- Sand in one direction only (cross-sanding can create visible patterns)
- Use light pressure – let the sandpaper do the work
- Periodically wipe the area to check progress
For deeper scratches:
- Begin with 600 grit to remove raised edges
- Progress through 800, 1000, and 1500 grits
- Keep the area wet during sanding to prevent heat buildup
- Sand slightly beyond the damaged area to blend the repair
Ever wondered why professionals always sand in straight lines rather than circles? It’s because circular motions create “swirl marks” that become visible in certain lighting conditions. According to Auto Refinishing Magazine, straight-line sanding reduces visible imperfections by nearly 70%!
3. Filling Deep Gouges
For those annoying deeper gouges:
- Clean the gouge thoroughly with alcohol and let dry completely
- Mix your two-part epoxy filler according to manufacturer instructions
- Apply filler slightly proud of the surface (it will shrink as it cures)
- Allow to cure fully – resist the urge to rush this step!
- Sand the cured filler flush with the wheel surface, starting with 400 grit
- Progressively move to finer grits until smooth
- Check for pinholes or low spots – apply spot putty if needed
Here’s a pro secret from MotorTrend’s restoration experts: adding a drop of wheel paint to your filler mixture helps it blend better with the base color, making your repair less noticeable even before painting!
4. Primer Application Methods
Primer creates the foundation for your repair:
- Mask off areas you don’t want primed
- Shake the primer can for at least 2 minutes (seriously, time it!)
- Apply in thin, even coats from 8-12 inches away
- 3-4 light coats are far better than 1-2 heavy coats
- Allow 15-20 minutes between coats
- Let the final coat dry for at least 1 hour before proceeding
- Wet sand with 1500-2000 grit for a glass-smooth base
A study by Dupont Refinish found that proper primer application can improve paint adhesion by up to 60% and extend the life of wheel repairs by several years. Not bad for a step many people rush through!
5. Color Matching and Paint Application
The moment of truth – bringing back that factory finish:
- Test your color match on an inconspicuous area first
- Apply paint in 3-5 very light coats
- Hold the spray can 8-12 inches from the surface
- Use slow, sweeping motions
- Allow 5-10 minutes between coats
- Extend each coat slightly beyond the previous one for seamless blending
- Let the final coat dry for at least 60 minutes
Haven’t we all struggled with color matching at some point? Here’s a tip from the professionals at Automotive Color Systems: take a photo of your wheel in natural sunlight before shopping for paint. Digital color matching tools at auto parts stores can use your photo to find the closest match available.
6. Clear Coat Application and Finishing
Clear coat is your repair’s shield against the elements:
- Ensure paint is completely dry
- Apply 3-4 light coats of high-temperature clear coat
- Allow 10-15 minutes between coats
- Extend clear coat slightly beyond the painted area
- Let cure for at least 24 hours (I know, the waiting is the hardest part!)
- Wet sand with 2000 grit if orange peel texture appears
- Follow with 3000 grit for final smoothing
According to tests by Chemical & Engineering News, wheel-specific clear coats resist yellowing from UV exposure approximately 3 times longer than standard automotive clear coats. That’s worth the extra cost, wouldn’t you agree?
7. Polishing and Protecting Your Repair
The final touches that make all the difference:
- Apply a small amount of automotive polishing compound
- Use a microfiber applicator and work in small sections
- Polish until the repair blends seamlessly with surrounding areas
- Wipe away polish residue
- Apply wheel sealant or ceramic coating for long-term protection
- Buff to a high shine
Industry data from Mothers Polish suggests that applying a quality wheel sealant extends the life of wheel repairs by up to 70% by protecting against brake dust etching and road salt damage. That’s basically free insurance for your hard work!
Advanced Tips for Professional-Looking Results
Want to take your repairs to the next level? These pro tips will elevate your results:
Working with Metallic Finishes
Metallic wheel finishes present unique challenges:
- Apply metallic paints in very light, even coats to prevent “mottling”
- Maintain consistent distance and speed while spraying
- Final clear coat should be slightly thicker than on solid colors
- Consider using a HVLP spray gun for more control over metallic flake distribution
Did you know that temperature affects metallic paint application significantly? According to PPG Technical Bulletins, metallic paints applied at 65-75°F show up to 30% better flake alignment than those applied in colder or hotter conditions.
Dealing with Machined Face Wheels
Those gorgeous machined-face wheels require special handling:
- Never sand the machined surfaces aggressively
- Use 2000+ grit only on machined faces
- Consider masking machined areas and focusing on painted portions
- Metal polish works better than sandpaper for minor scratches on machined surfaces
- Apply clear coat very sparingly on machined sections
A recent article in Wheel & Tire Review revealed that machined face wheels are among the most expensive to repair professionally, averaging $75-100 more per wheel than painted finishes. Your DIY approach can save substantially here!
Temperature and Humidity Considerations
Environmental factors make a huge difference:
- Ideal repair conditions: 65-75°F with 40-60% humidity
- In high humidity, add 50% more drying time between coats
- In cold weather, warm spray cans in hot water before use
- In hot weather, apply thinner coats to prevent solvent popping
- Never apply clear coat in direct sunlight
The Society of Automotive Engineers published data showing that paint applied in ideal conditions lasts up to 40% longer than identical products applied in poor environmental conditions. Worth waiting for the right day to do your repairs!
Common Mistakes and How to Avoid Them
Let’s learn from others’ wheel repair woes:
- Rushing between coats (causes solvent entrapment and eventual peeling)
- Inadequate surface preparation (accounts for 70% of repair failures)
- Using incorrect grit progression (creates visible scratch patterns)
- Applying thick coats to save time (leads to runs and extended cure times)
- Polishing too soon (clear coat needs full cure time to develop hardness)
Automotive Training Centers report that patience is the number one factor separating professional-quality wheel repairs from amateur attempts. Each coat needs proper time to flash and cure – no exceptions!
When to Seek Professional Help
Sometimes, DIY isn’t the answer. Know when to call in the pros:
Damage that Exceeds DIY Capabilities
Consider professional help when facing:
- Structural cracks or damage
- Severe bends that affect wheel balance
- Damage that extends to the bead seat area (where tire seals)
- Extensive damage covering more than 25% of the wheel surface
- Wheels with specialized finishes like chrome or multi-stage candies
According to the Wheel Repair Industry Association, attempting structural repairs as a DIY project can compromise wheel integrity. Their 2023 safety report linked improper wheel repairs to 122 accidents nationwide – safety first!
Cost Comparison: DIY vs. Professional Services
Let’s talk money:
- Average DIY repair cost: $30-75 per wheel for supplies
- Professional refinishing: $125-300 per wheel
- Complete professional replacement: $200-700+ per wheel (depending on make/model)
- Time investment: 3-6 hours per wheel for DIY vs. 1-2 days turnaround professionally
A Consumer Reports study found that while professional repairs cost more upfront, they typically last 30% longer than DIY repairs – though properly executed DIY jobs using quality materials can rival professional results at a fraction of the cost.
Finding Reputable Wheel Repair Services
If you do go professional:
- Look for specialists with Wheel Industry Training certification
- Request before/after photos of similar repairs
- Check warranties (quality shops offer at least 1 year)
- Read reviews specifically mentioning wheel repairs
- Ask about their repair process – transparent shops will explain their techniques
The Better Business Bureau reports that wheel repair is among the top 20 automotive services with customer satisfaction issues. Do your homework before handing over your wheels and your wallet!
Preventative Measures
An ounce of prevention is worth a pound of cure, especially with wheel damage:
Driving Habits that Protect Wheels
Small adjustments to your driving can make a big difference:
- Approach curbs at perpendicular angles when possible
- Reduce speed before navigating potholes or rough roads
- Leave extra space in tight parking situations
- Be especially cautious during winter when curbs may be hidden by snow
- Consider aftermarket wheel insurance if you live in areas with poor road conditions
Protective Products and Coatings
Shield your wheels before damage occurs:
- Ceramic wheel coatings (create a sacrificial layer that takes damage instead of the wheel)
- Wheel wax (provides moderate protection while enhancing shine)
- Rim protectors (physical barriers for the outer edge)
- Clear protective films (similar to paint protection film for car bodies)
A 2024 study by the International Carwash Association found that wheels treated with ceramic coatings showed 82% less damage from automatic car washes over a 12-month period compared to untreated wheels. Prevention literally pays!
Regular Maintenance to Prevent Future Damage
An established care routine extends wheel life:
- Clean wheels bi-weekly with pH-balanced cleaner
- Remove brake dust promptly (it’s acidic and etches clear coat)
- Apply protective coating quarterly
- Inspect for early signs of clear coat failure
- Address minor scratches before they collect contaminants
According to Kelley Blue Book data, vehicles with well-maintained wheels and tires sell up to two weeks faster and command 5-10% higher prices than identical vehicles with neglected wheels. That’s significant return on a small maintenance investment!
Conclusion
We’ve traveled quite the journey from identifying those annoying wheel scratches to bringing your wheels back to their former glory! Whether you’re dealing with light surface scratches or more significant curb rash, you now have the knowledge to tackle wheel repairs with confidence.
Remember, the key to successful wheel scratch repair lies in patience, proper preparation, and using the right materials for the job. Don’t rush the process – each step builds on the previous one to create lasting results.
What’s most satisfying about DIY wheel repair isn’t just the money saved (though saving $100-250 per wheel is certainly nice!), but the pride that comes from transforming something damaged into something beautiful again. There’s something deeply rewarding about pulling into your driveway with freshly restored wheels that you fixed with your own two hands.
Have you tackled wheel repairs before? What techniques worked best for you? Or is this your first attempt at breathing new life into scratched wheels? Either way, the processes outlined in this guide will help you achieve results that will have friends and neighbors asking for your “wheel guy’s” phone number – little will they know it’s actually you!
Frequently Asked Questions
How long will my DIY wheel repair last? With proper preparation, quality materials, and protective maintenance, DIY repairs can last 2-4 years under normal driving conditions. Professional-grade materials can extend this significantly.
Can I repair chrome wheels using these methods? True chrome wheels require specialized replating that can’t be performed at home. However, chrome-look wheels (painted with chrome-effect finish) can be repaired using the techniques described.
Do I need to remove the tire to repair wheel scratches? While not always necessary for minor repairs, removing the tire allows better access and eliminates the risk of overspray or damage to the tire. Many tire shops will dismount and remount tires for a reasonable fee.
Will my repaired wheel be safe at highway speeds? Surface repairs don’t affect structural integrity. However, if your damage extends beyond cosmetic issues, professional assessment is recommended before high-speed driving.
Can wheel repairs affect tire pressure monitoring systems (TPMS)? Cosmetic repairs shouldn’t affect TPMS sensors. However, be careful with heat and chemicals near sensor locations, typically near the valve stem.
What’s the best way to match my exact wheel color? For perfect matching, consider contacting your vehicle manufacturer for the exact color code, or remove the wheel to a professional paint supplier who can scan and match the color precisely.


